HBA Faceplate Conversion
This section describes how to replace a short faceplate on a Host Bus Adapter (HBA) with a long one and install the required plastic support for compatibility with CHS-3560AC-08 appliance event brokers.
Use this procedure in either of the following scenarios:
-
You have a CHS-3560AC-08 appliance event broker that requires an HBA blade replacement, and the replacement unit comes with a short faceplate.
-
You are upgrading from a CHS-3560AC-05 or CHS-3560AC-06 appliance event broker to a CHS-3560AC-08 appliance event broker and need to convert your existing HBA (requires an HBA conversion kit).
Tool and Equipment Requirements
The following tools and equipment are required to convert the faceplate on HBA system blades:
- No. 1 Phillips head screwdriver
- Electrostatic discharge (ESD) wrist strap
- Anti-static mat
- Replacement HBA blade (ordered from Solace)
- HBA conversion kit (ordered from Solace) containing:
- Long faceplate
- Plastic support
- Mounting screws
To prevent equipment damage from ESD, use an anti-static wrist strap or another anti-static device. If no wrist strap or mat is available, ground yourself by touching the metal part of the chassis.
Converting Short HBA Faceplates to Long Faceplates
Perform the following steps to convert short HBA faceplates to long faceplates for use in CHS-3560AC-08 appliance event brokers.
This procedure assumes you are replacing an HBA blade in a CHS-3560AC-08 appliance event broker where the replacement has a short faceplate. If you are upgrading your chassis with an existing HBA that has a short faceplate, use the long faceplate and plastic support included in the HBA conversion kit instead of components from an old blade.
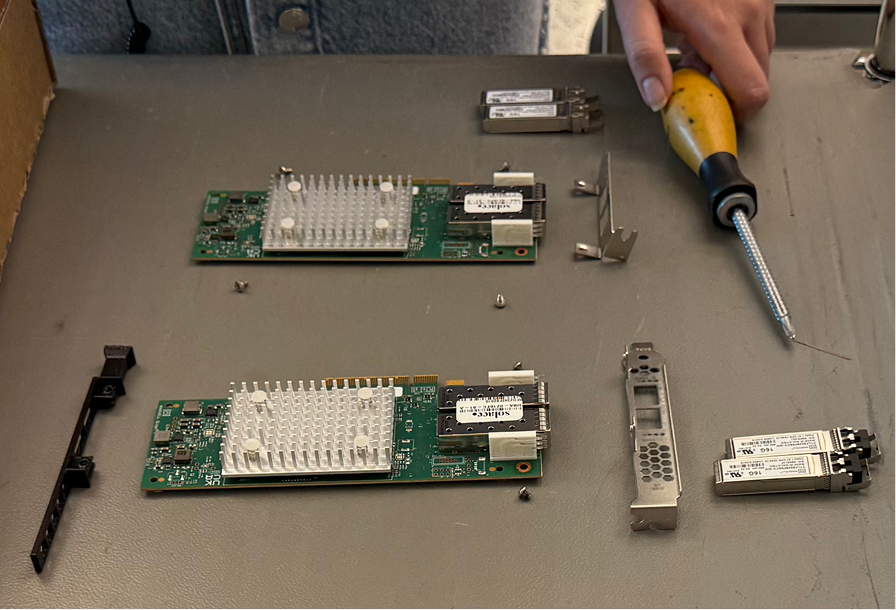
Step 1: Prepare Your Workspace
-
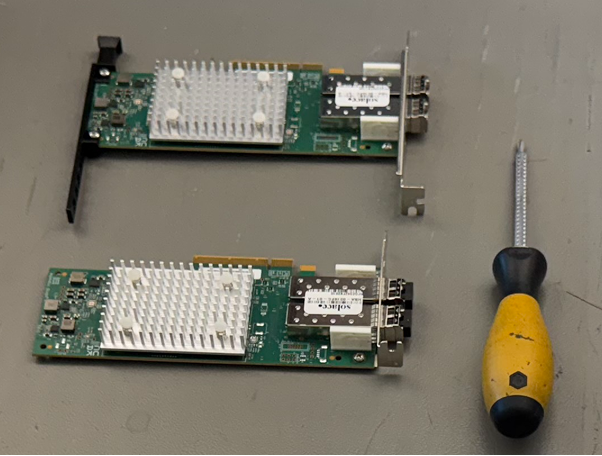
Gather both HBA blades and place them on a flat, stable, static-free surface.
-
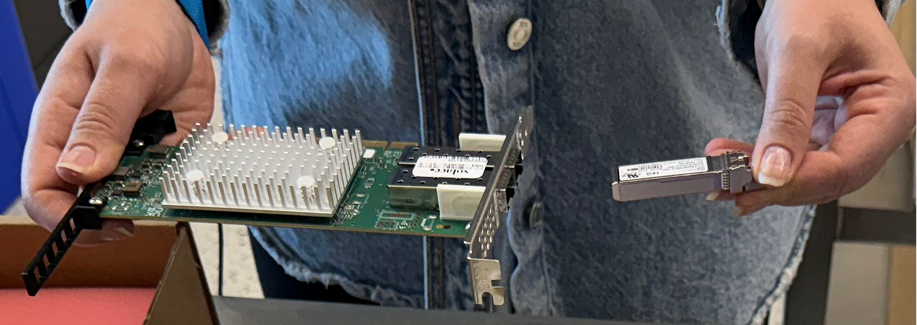
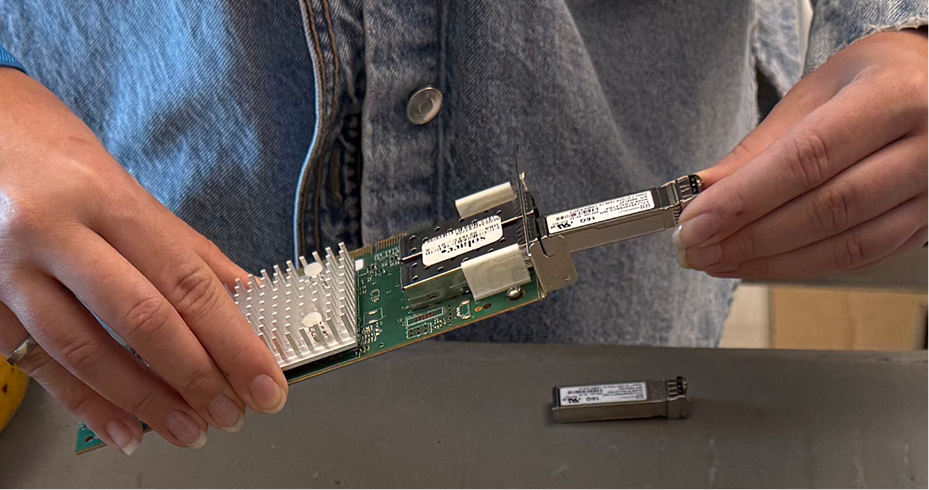
Remove all SFP modules from both HBA blades and set them aside safely. For more information, see Removing SFP Modules.
Step 2: Remove Components from the Old HBA
-
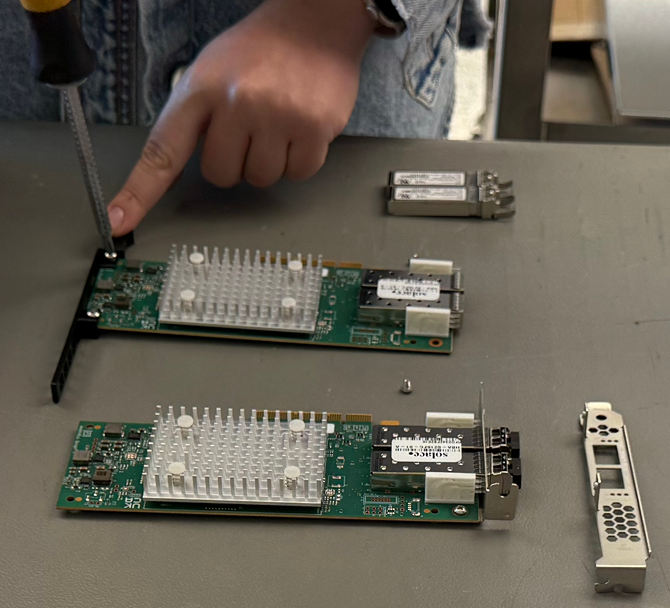
Remove the faceplate screws from the old HBA blade.
-
Remove the faceplate from the old HBA blade.
-
Remove the screws that secure the plastic support to the old HBA blade.
-
Remove the plastic support from the old HBA blade.
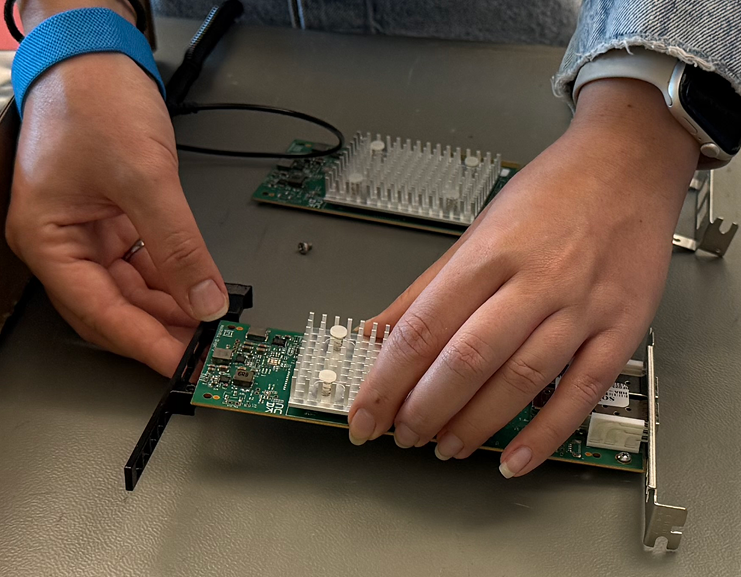
Step 3: Install Components on the New HBA
-
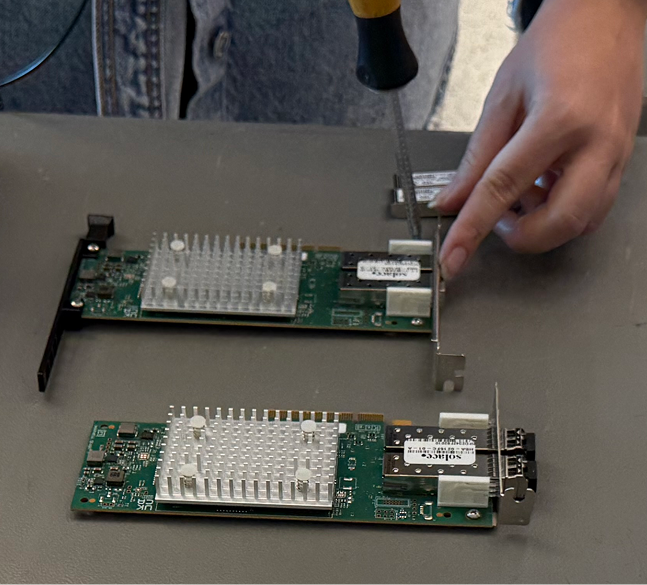
Remove the screws and the short faceplate from the new HBA blade.
-
Align the long faceplate and plastic connector with the new HBA blade.
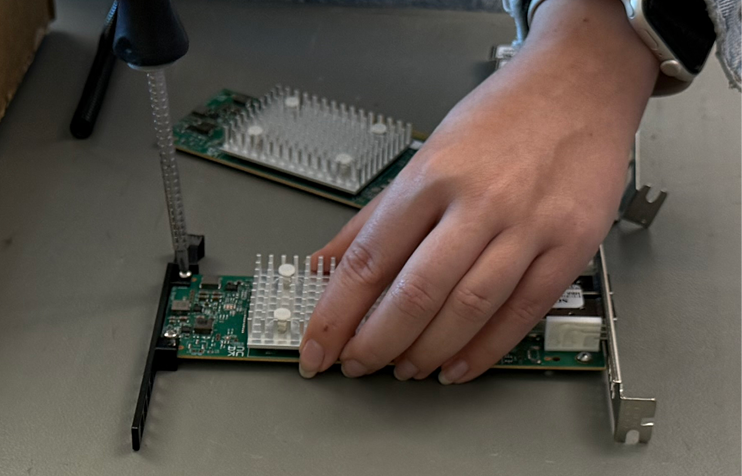
-
Tighten the screws to secure the long faceplate to the new HBA blade using firm, even pressure. Do not overtighten, as this may strip the faceplate threads.
-
Attach the plastic support to the new HBA blade.
-
Tighten the screws to secure the plastic support to the new HBA blade. Do not overtighten, as this may strip the plastic support threads.
Step 4: Complete the Installation
-
Tighten the screws to secure the short faceplate to the old HBA blade. Do not overtighten.
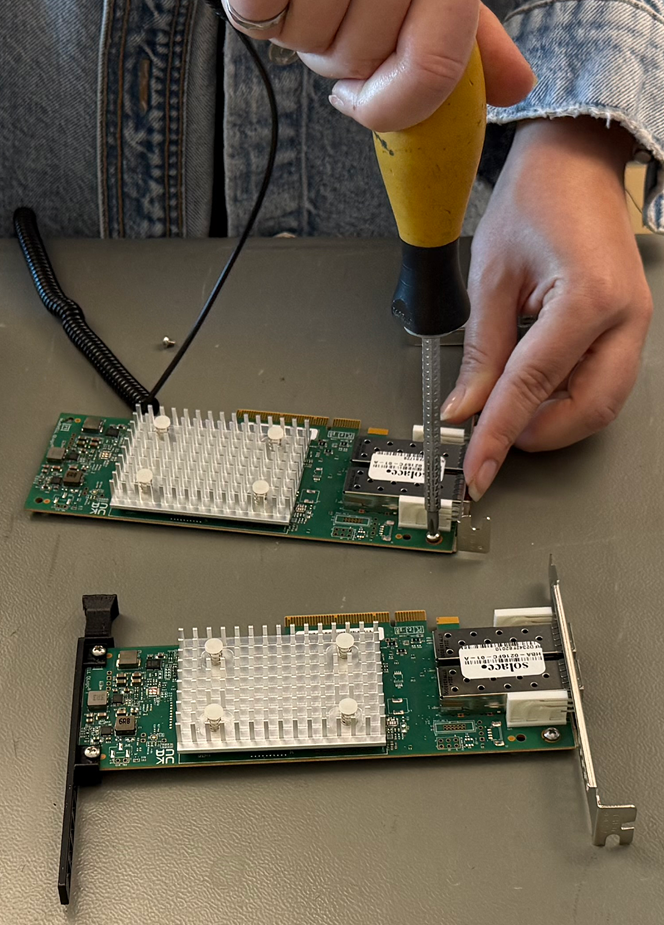
-
Reinsert the SFP modules into both HBA blades. For more information, see Inserting SFP Modules.
-
Ensure all screws are properly tightened and SFP modules are fully seated before proceeding with the system installation.
-
Place the old HBA blade in anti-static packaging for safe storage.