Configuring Partitioned Queues
If your event-driven architecture (EDA) uses dynamic microservice scaling to adapt to message load, using partitioned queues ensures that messages with similar contexts are always processed by the same consumer.
A partitioned queue consists of a parent non-exclusive queue, along with a child queue for each partition. The parent queue holds the configuration state of the partitioned queue, including the subscription set and the combined message quota of the partitions. The parent queue does not retain messages and does not consume any quota.
The event broker distributes messages among the partitions in a partitioned queue based on a key (the partition key) carried in the messages. Publishing applications set this key when they create a message. The event broker creates a hash of the partition key and selects the destination partition for a particular set of messages using the following calculation:
partition = partition-key-hash MOD partition-count
This relationship between the partition key and its destination partition is referred to as the key-to-partition mapping. All messages with the same key are handled by the same partition. If no partition key is set, the event broker generates a random hash value, which causes the message to be spooled to a random partition.
Consuming applications bind to a partitioned queue and consume messages the same as with any other queue. The event broker maps one or more partitions to each consumer flow. This is called the partition-to-flow mapping.
Message sequence is maintained within a partition, but not between partitions.
For details about how the broker handles messages in partitioned queues, see Message Distribution with Partitioned Queues
Partitioned queues require event broker version 10.4 or later.
Creating a Partitioned Queue
To create a partitioned queue, perform these steps:
- Open Broker Manager. For instructions, see Using Broker Manager with Event Broker Services.
- Select Queues in the left navigation bar.
-
Click + Queue.

- Enter a name for the queue and click Create.
-
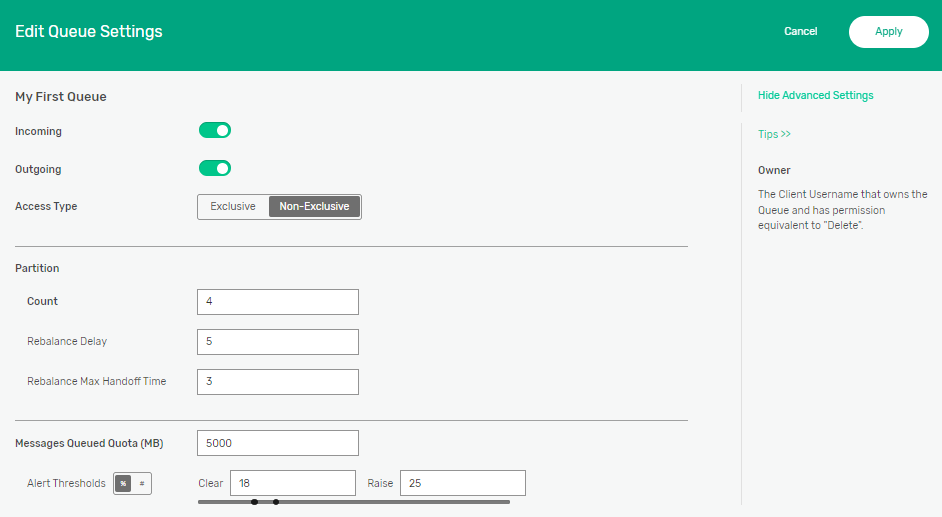
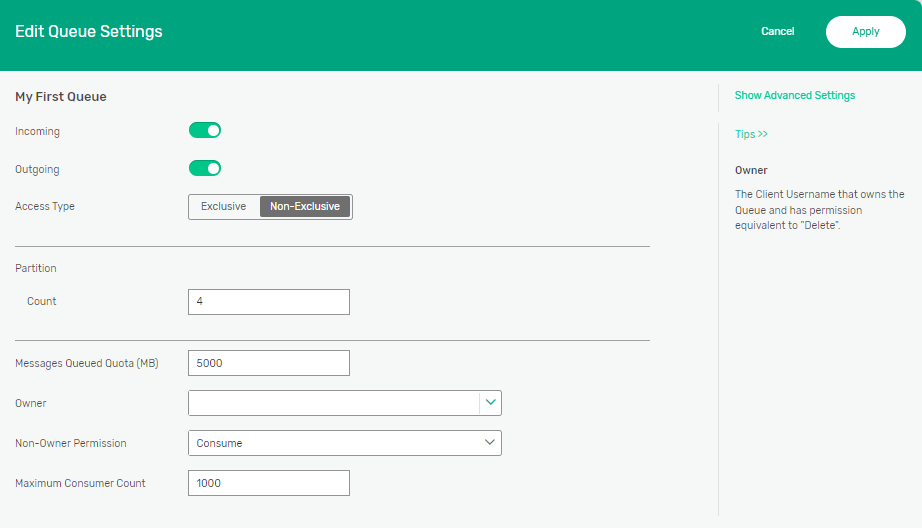
Option Description Access Type
Set the access type to Non-Exclusive.
Partition Count Specifies the number of partitions for the queue. You should set the Partitioned Count to the maximum number of active consumers that you expect may bind to the queue.
-
Click Show Advanced Settings.
-
Set the following Partition Rebalancing options:
Option Description Rebalance Delay
Specifies the delay in seconds to allow the number of consumers to stabilize before a rebalance activity starts after being triggered by a change in the number of consumers. If the number of consumers returns to its previous state before the delay timer expires, no partition handoffs occur.
By default, event brokers wait five seconds before triggering a rebalance when it is required. You can configure the delay to balance the needs of your consumer scaling strategy and stability of your consumer connections. Smaller values mean that client connects and disconnects are acted upon more quickly; larger values minimize the number of partition reassignments when clients are frequently temporarily disconnected or when client disconnects/reconnects occur in groups (for example, with client autoscaling).
Rebalance Max Handoff Time Specifies the maximum number of seconds the event broker service waits to allow consumers to acknowledge outstanding messages during Partition Handoff.
When partition rebalancing occurs, it may cause a handoff of partitions from one consumer to another. While handoffs are designed to be as unobtrusive as possible, remapping and scaling of partitions may cause application-level errors as the flow of messages belonging to one partition is moved from one consumer to another. For more information, see Partition Handoff.
By default, event brokers pause message ingress for a maximum of three seconds to allow messages to drain prior to handing off a partition while rebalancing. If there are no messages to be drained, the handoff proceeds immediately.
- Click Apply.
Adding and Removing Partitions in a Queue
If you redesign applications or other aspects of your EDA, or if new information changes the projected maximum number of active consumers that connect to the queue, you may need to add or remove partitions through partition scaling.
Partition scaling refers to adding partitions to or removing partitions from a partitioned queue. Partition scaling is triggered when the administrator changes the partition count of the queue.
When the partition count is decreased, the event broker removes extra partitions in the reverse order in which they were created (that is, the highest number partition is removed first). Any messages remaining in deleted partitions are also deleted.
When the partition count is increased, the event broker assigns each new partition the next highest partition number in the sequence.
Partition scaling triggers the Partition Rebalancing process on the event broker. The implications of Partition Handoff apply to partition scaling as well.
It may be preferable to move some messaging load to an alternate partitioned queue or to provision a new partitioned queue with more partitions, rather than changing the configuration of an existing partitioned queue.
When the partition count changes, the key-to-partition mapping changes. The effect is that consumers are delivered a different set of messages than before. Because of the impact to consumers, we recommend that you disable ingress to the partitioned queue to allow messages to drain from all existing partitions before changing the number of partitions.
Adding Partitions to a Queue
To add more partitions to a queue, perform these steps:
- Open Broker Manager. For instructions, see Using Broker Manager with Event Broker Services.
- Select Queues in the left navigation bar.
- Click the queue that you want to update.
-
Click Edit
 .
.
- Click the Incoming
 toggle to disable incoming messages.
 -
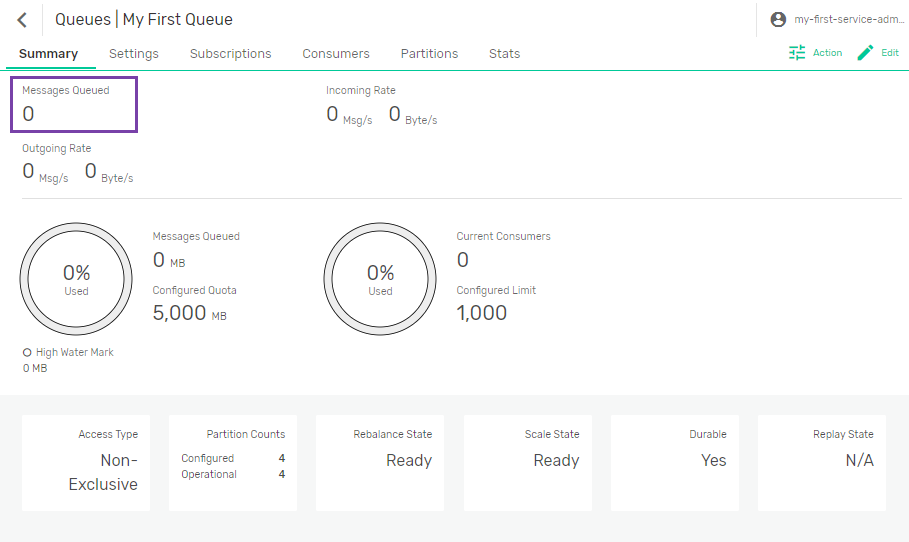
Wait for all outstanding messages from all partitions of the queue to be fully delivered; that is, the Messages Queued value for the queue is zero.
- In the Partition Count field, increase the number of partitions.
-
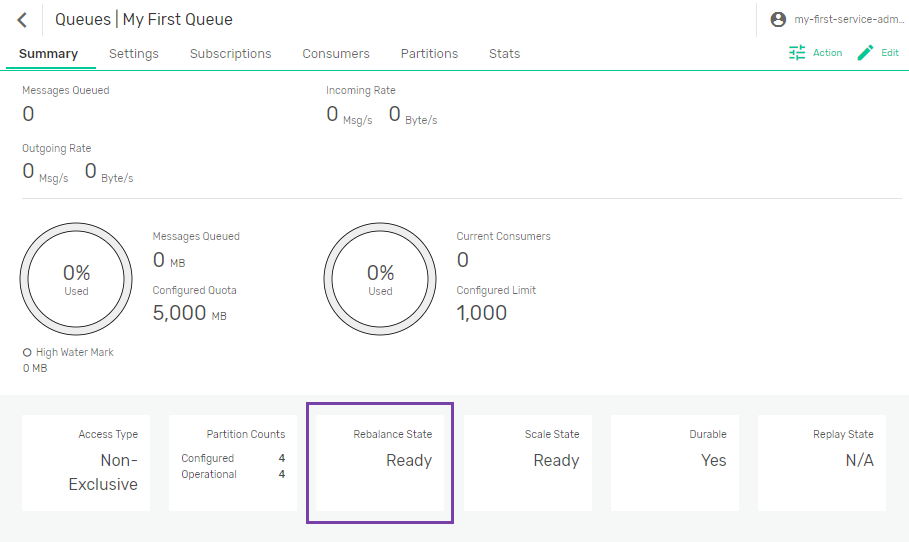
Wait for the event broker to allocate new partitions and complete Partition Rebalancing, that is, the Rebalance Status value for the queue is Ready.
- Click the Incoming
 toggle to re-enable incoming messages.
 - Click Apply.
Removing Partitions from a Queue
If the maximum number of active consumers bound to the queue is always somewhat less than or equal than the partitioned count, it is not necessary to change the partition count. However, if you do need to reduce the number of partitions in a queue, perform these steps.
- Open Broker Manager. For instructions, see Using Broker Manager with Event Broker Services.
- Select Queues in the left navigation bar.
- Click the queue that you want to update.
- Click Edit .
- Click the Incoming toggle to disable incoming messages.
- Wait for all outstanding messages from all partitions of the queue to be fully delivered; that is, the Messages Queued value for the queue is zero.
- In the Partition Count field, decrease the number of partitions.
-
Wait for the event broker to allocate new partitions and complete Partition Rebalancing, that is, the Rebalance Status value for the queue is Ready.
- Click the Incoming toggle to re-enable incoming messages.
- Click Apply.