Connecting to Azure Event Hubs or Azure Service Bus Using REST
Two of the most widely used messaging services in the Azure Cloud platform are Azure Event Hubs and Azure Service Bus. Architects and developers take advantage of these messaging services to scale and extend their applications into more advanced cloud services in Azure, such as machine learning, real-time data analytics, and data science.
Azure Event Hubs is a fully managed, real-time data ingestion service; it is often used to stream millions of events from multiple sources and build multiple data pipelines.
Azure Service Bus is a highly reliable cloud messaging service that connects applications with services. It offers asynchronous operations between server and clients, as well as other messaging capabilities such as pub/sub with queues and topics.
Azure Event Hubs is more suitable with requirements to ingest massive volume of data, where Azure Service Bus is more suitable for enterprise messaging needs.
Within a REST Delivery Point (RDP) an Azure administrator can set up a service account to establish OAuth authentication between Azure and the Solace event broker, designating proper application registrations and permissions.
The OAuth client authentication flow enables the event brokers to get an access token from the authorization server using primary credentials (client id and client secret) so that there are no redirects or refresh tokens. These credentials are usually associated with an application rather than a person, making it more suitable and secured for governance on permission.
See Managing REST Delivery Points Using the Solace Event Broker CLI for more information.
Goals
The goal of this tutorial is to demonstrate how to set up an OAuth 2.0 client authentication in a Solace event broker to send messages to Azure Event Hubs from a remote connection. This tutorial shows you how to:
- Configure the event broker to set up RDPs with OAuth client authentication to Azure Event Hubs or Service Bus.
- Send messages to Azure Event Hubs using the Try Me! functionality built into Broker Manager.
- Review messages sent into Event Hubs under blob storage.
Connecting to Azure Event Hubs
The REST Connector Wizard can help you set up and configure integrations to various cloud platforms and their services. This example shows how to set up OAuth client authentication with Microsoft Azure.
- Log into Broker Manager.
- Launch the connector Click-to-Connect Wizard (refer to Creating REST Delivery Points Using Broker Manager).
-
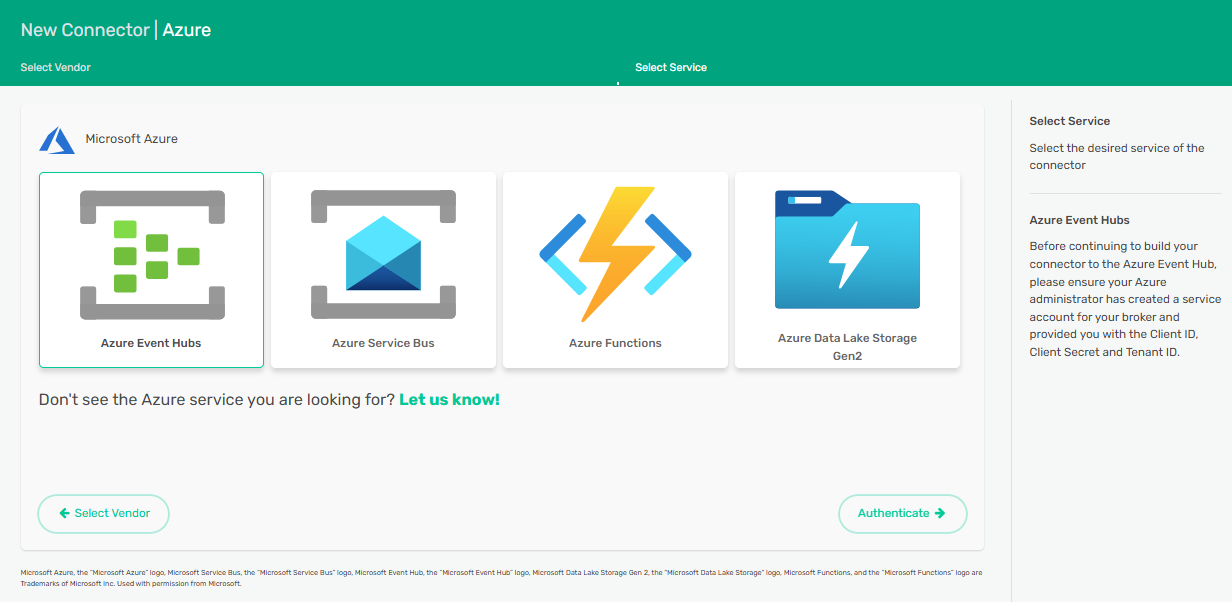
Click Microsoft Azure.

-
Click Azure Event Hubs then click Authenticate.
-
Provide a name for the connector and enter the Client ID and Client Secret provided by Azure.
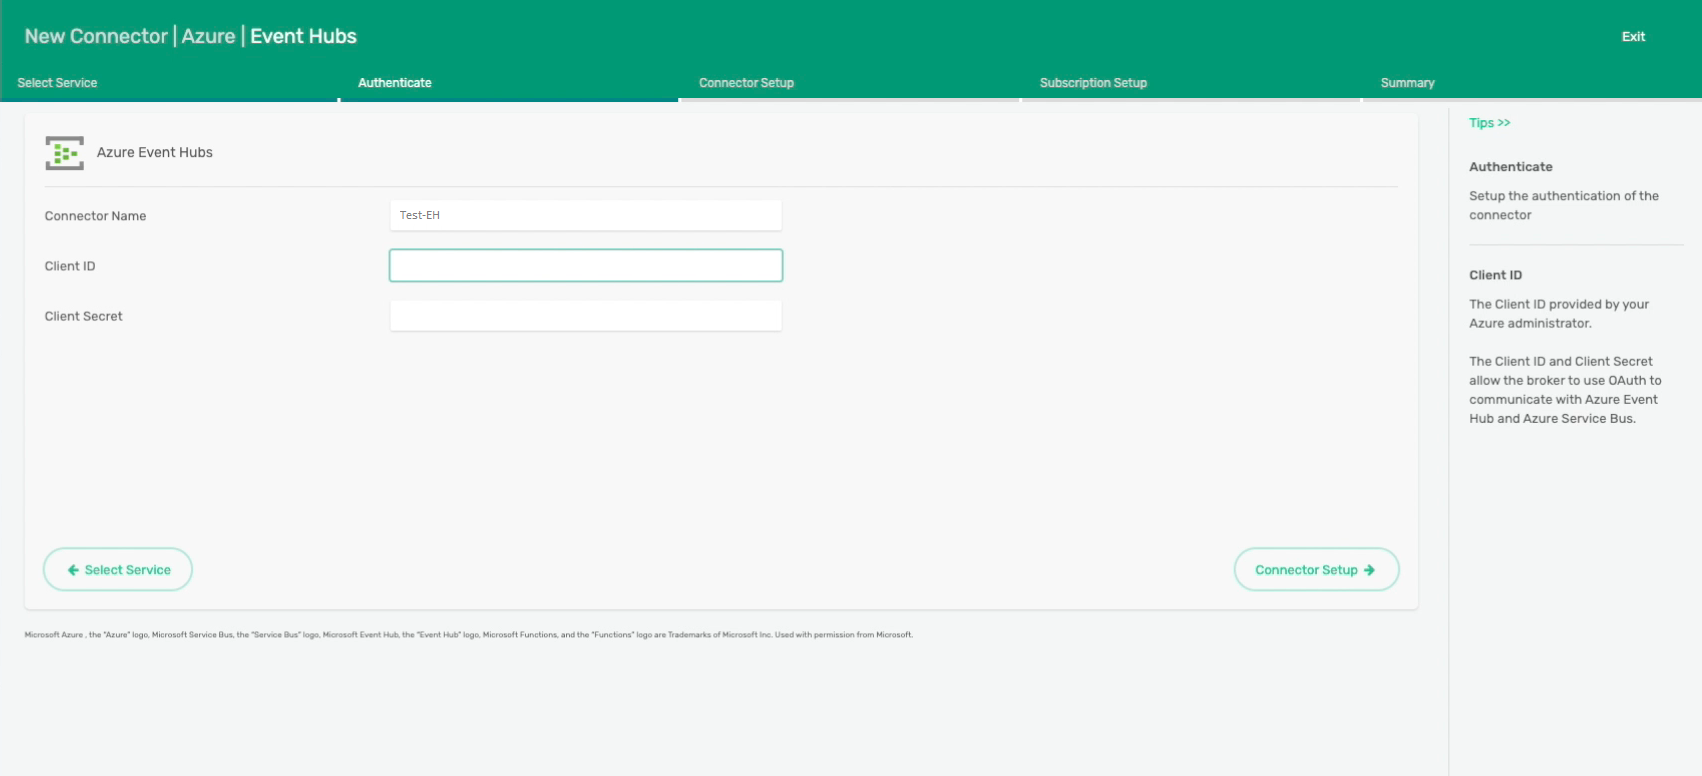
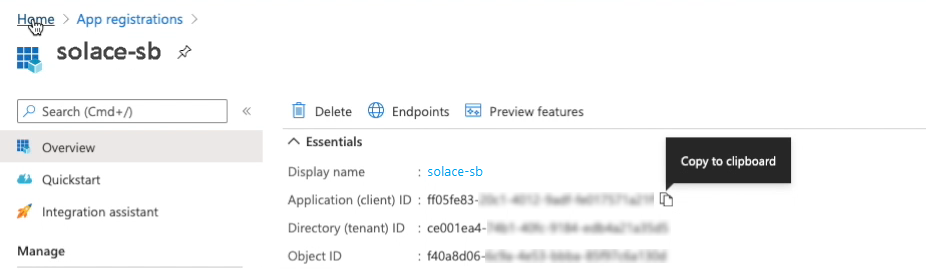
You can get the client ID from the Azure console in the Overview section. The client ID is the application ID which an Azure Event Hub has registered.
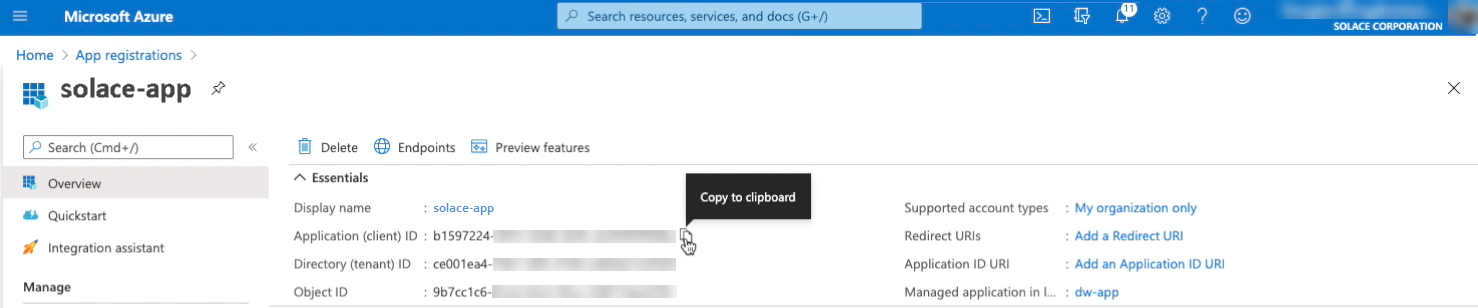
Client secrets are located in the Certificates & secrets section, however, you may need to obtain this from your Azure Administrator because it is only available when the application is created.
-
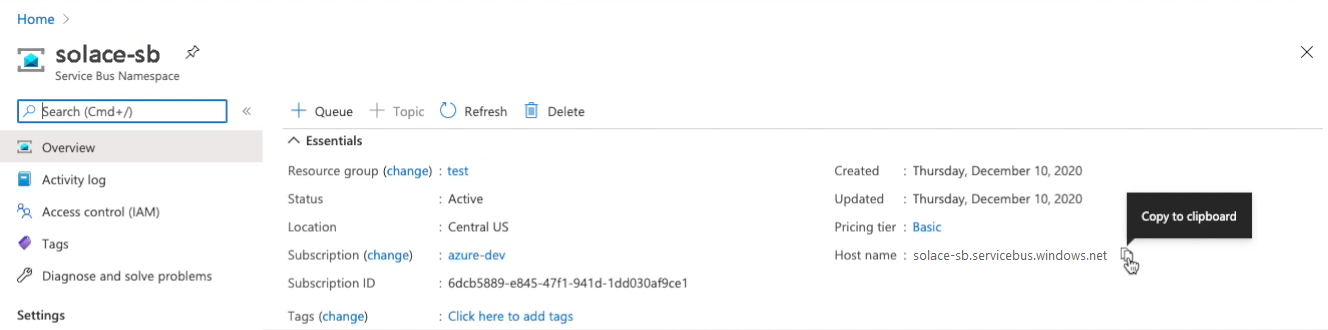
Once the authentication has been established, enter the Azure Namespace Host , Event Hubs Instance name, and configure the client profile accordingly.

The Azure Namespace Host is the Host name of the Event Hubs Namespace.
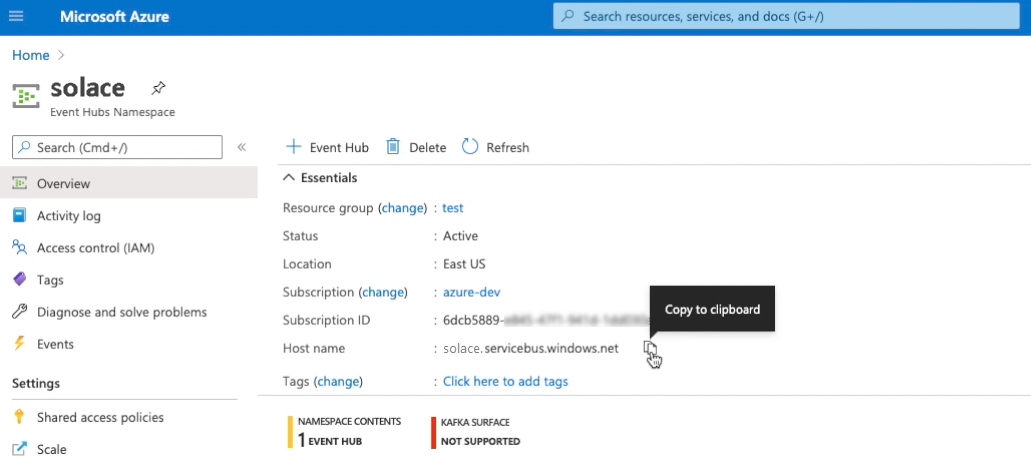
You can get the Event Hubs instance name from the Azure console home screen, in this example,
solace-testis the Event Hubs instance name. -
Choose the queue subscription. This example uses
default.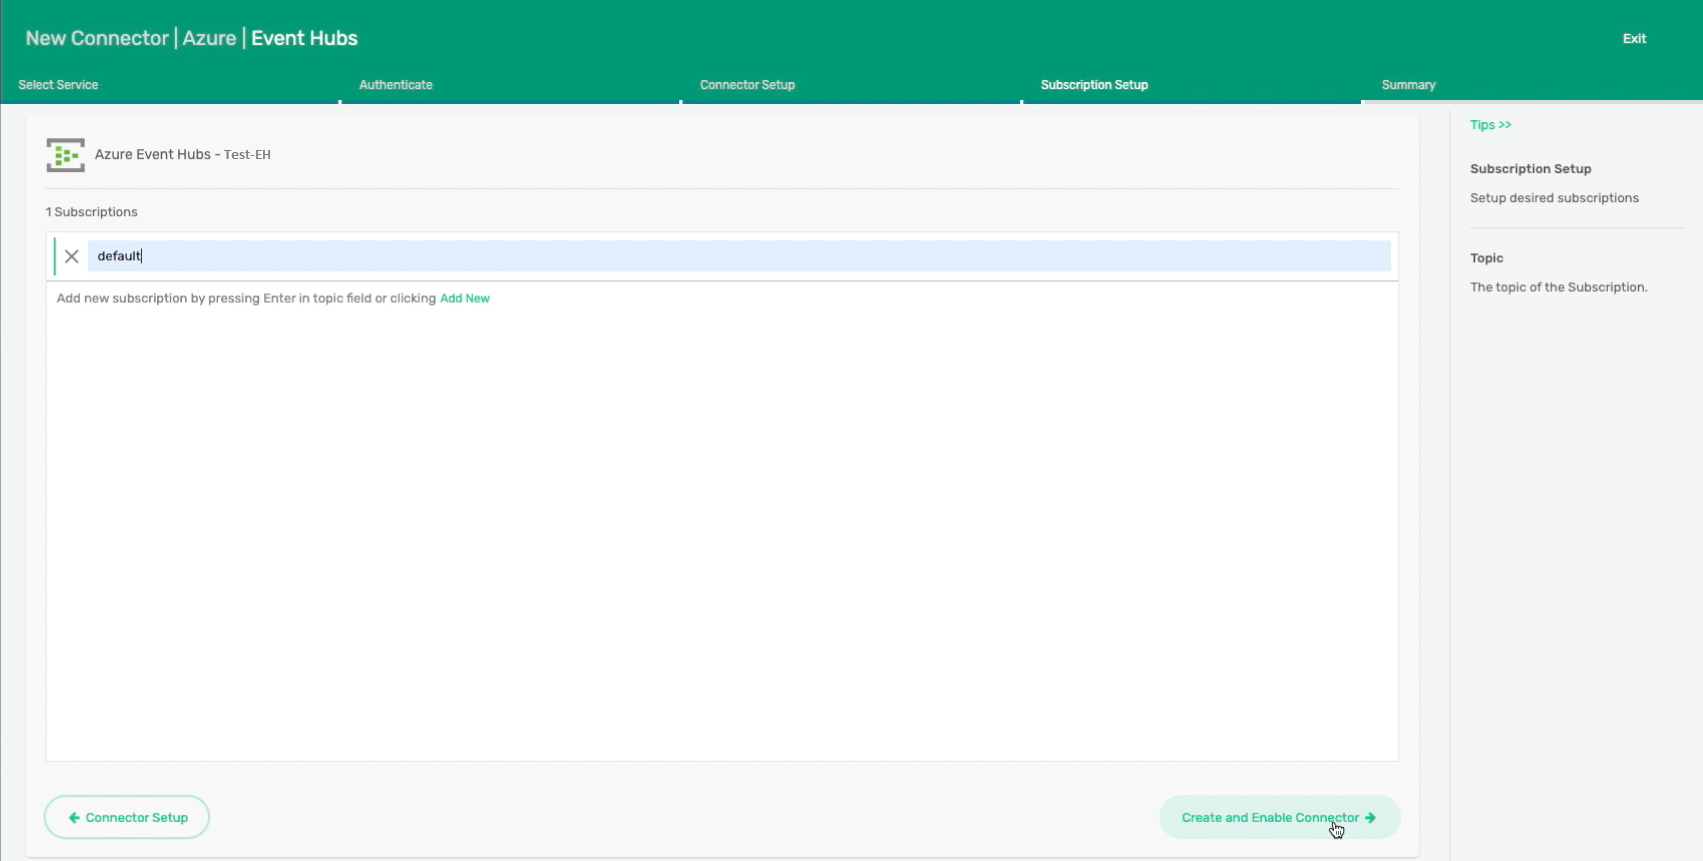
-
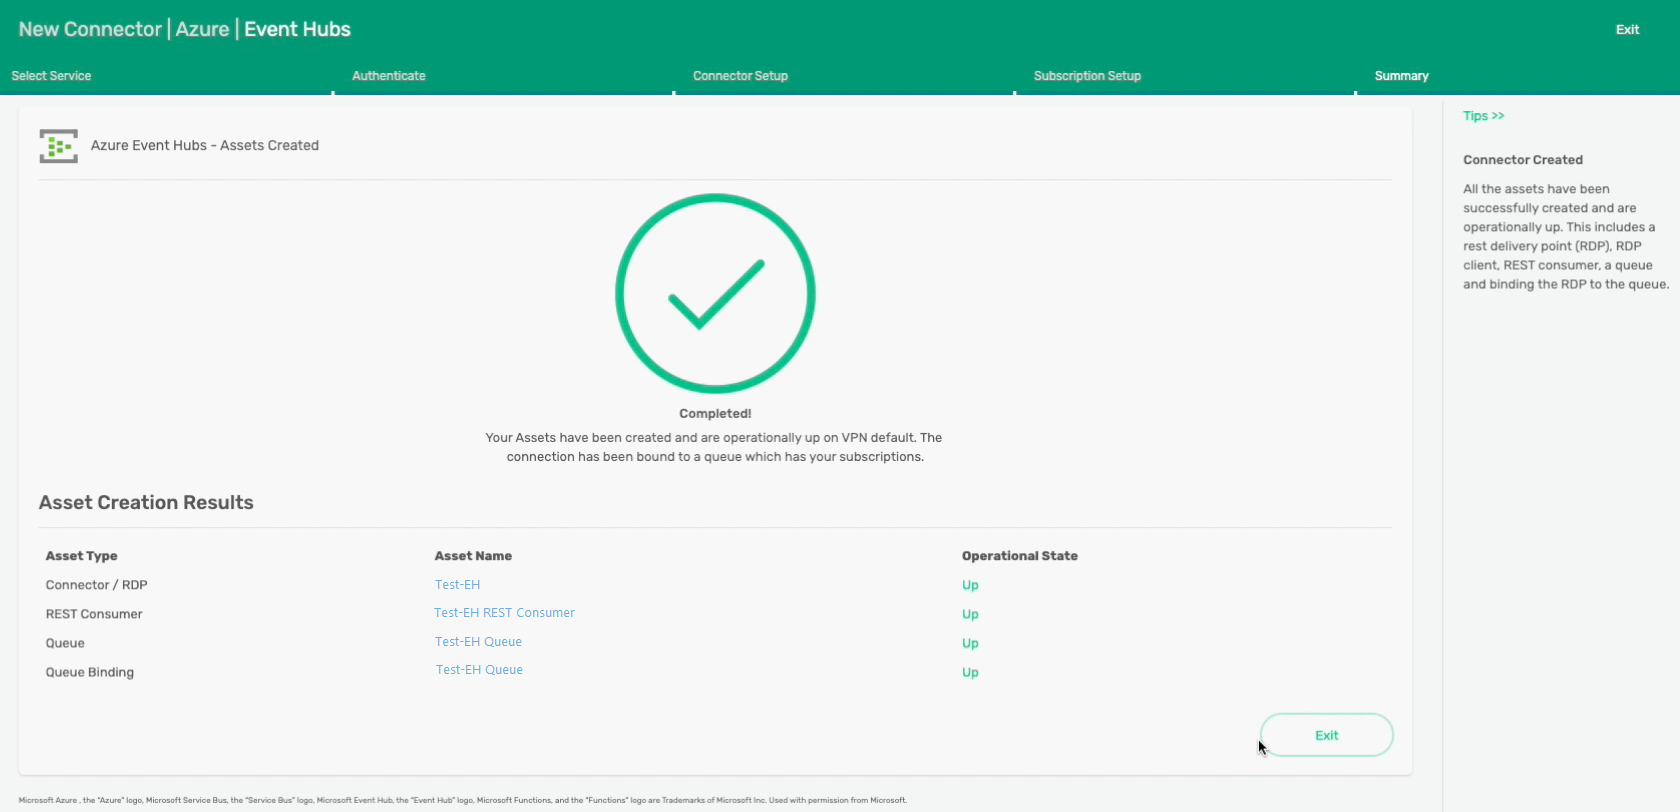
Click Create and Enable Connector to finalize the connector creation.

Connecting to Azure Service Bus
To connect to Azure Service Bus, you can follow many of the same steps you used to connect to Event Hubs, except that you need to use the application and its client ID and secrets for the application setup for Azure Service Bus.
Before you can send messages to Azure Service Bus, ensure that you have assigned the Azure Service Bus Data Owner role to the appropriate entity on the target queue or namespace.
- Log into Broker Manager.
- Launch the Connector Wizard. For more information, see Creating REST Delivery Points Using Broker Manager.
- Click Microsoft Azure.
- Click Azure Service Bus then click Authenticate.
-
Provide a name for the connector and enter the Client ID and Client Secret provided by Azure.
You can get the client ID from the Azure console in the Overview section. The client ID is the application ID which an Azure Service Bus has registered.
You must obtain the client secret from your Azure Administrator because it is only available when the application is created.
-
Once the authentication has been established, enter the Azure Namespace Host, Service Bus Entity, and configure the client profile accordingly.

For the Azure Namespace Host, use the Service Bus Namespace Host name.
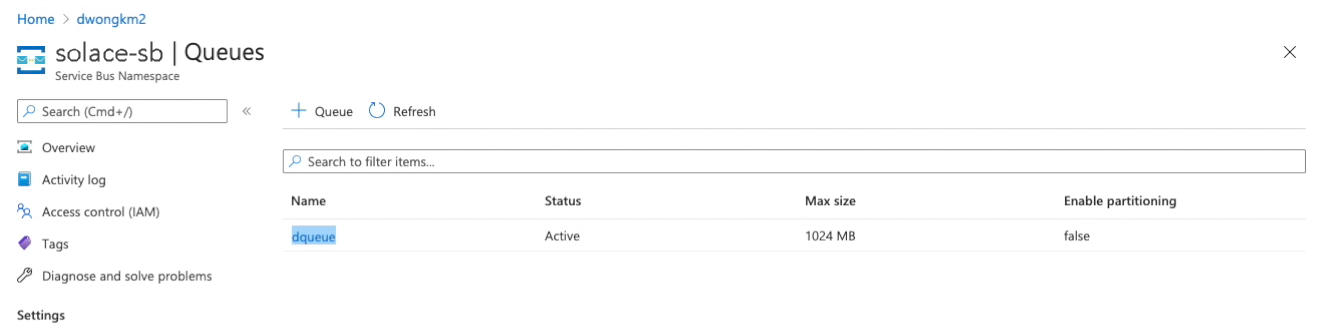
For the Service Bus Entity, use the queue name that you have configured for this Service Bus.
-
Choose the queue subscription.
-
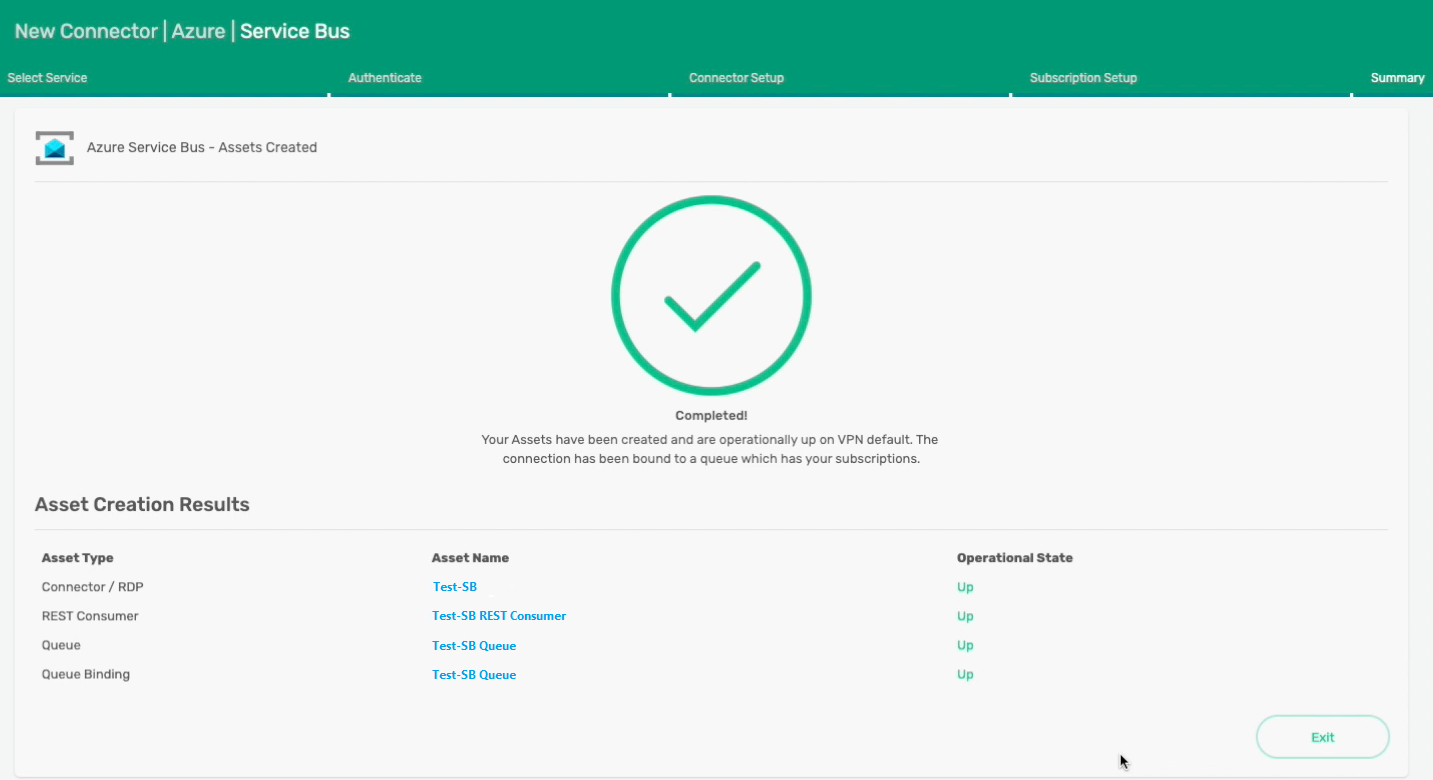
Click Create and Enable Connector to finalize the connector creation.
Setting Up Azure Event Hubs Blob Storage
After configuring a connection to your Azure Event Hubs instance, you can set up a blob storage to receive the message. In addition, you can use a Python script to read back what is written into the storage.
-
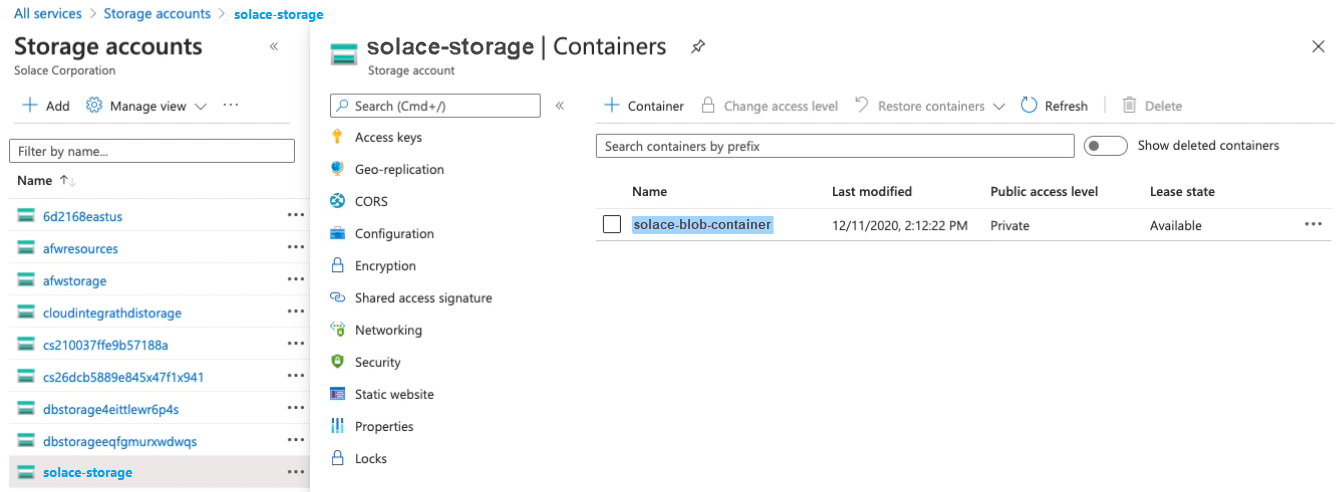
Set up a container for your Azure Event Hubs.
-
Use the Broker Manager Try Me! application to send a message to the default subscription.

-
Use a Python script to read back what was written into the blob storage.
