Using Solace Schema Registry Web Console
You can manage schema artifacts stored in Solace Schema Registry by using Solace Schema Registry web console. For more information about the activities you can perform, see the following sections:
- Adding Artifacts Using Solace Schema Registry Web Console
- Viewing Artifacts Using Solace Schema Registry Web Console
- Configuring Content Rules Using Solace Schema Registry Web Console
Adding Artifacts Using Solace Schema Registry Web Console
You can use Solace Schema Registry web console to upload schema and API artifacts to Solace Schema Registry. This section shows simple examples of creating Solace Schema Registry artifacts and adding new artifact versions.
Prerequisites
- Solace Schema Registry is installed and running in your environment.
- You are logged in to Solace Schema Registry web console:
http://MY_REGISTRY_UI_URL/
Procedure
- On the Explore tab, click Create artifact, and complete the Create artifact wizard:
You can create a placeholder artifact without content, but you must specify the artifact type, as Solace Schema Registry cannot automatically detect the content type. Creating a placeholder allows you to create rules first and add content later.
- Specify the Artifact Coordinates and click Next:
- Group ID & Artifact ID: Use the default empty settings to automatically generate an artifact ID and add the artifact to the
defaultartifact group. Alternatively, you can enter an optional artifact group or artifact ID. - Type: Use the default Auto-Detect setting to automatically detect the artifact type (not allowed if creating an empty artifact), or select the artifact type from the list, for example, Avro Schema.
- Group ID & Artifact ID: Use the default empty settings to automatically generate an artifact ID and add the artifact to the
- Specify the Artifact Metadata and click Next:
- Name: Enter an optional friendly name for the new artifact.
- Description: Enter an optional description for the new artifact.
- Labels: Optionally add one or more label (name/value pair) for the new artifact.
- Specify the Version Content and click Next:
- Version Number: Optionally add a version string if creating a first version.
- Content: Specify the content using either of the following options:
- From file: Click Browse, and select a file, or drag and drop a file. For example,
my-schema.avscormy-schema.json. Alternatively, you can enter the file contents in the text box. - From URL: Enter a valid and accessible URL, and click Fetch. For example:
https://example.com/schemas/my-schema.avsc.
- From file: Click Browse, and select a file, or drag and drop a file. For example,
- Specify the Version Metadata:
- Name: Enter an optional friendly name for the first artifact version.
- Description: Enter an optional description for the first artifact version.
- Labels: Optionally add one or more label (name/value pair) for the first artifact version.
- Specify the Artifact Coordinates and click Next:
- Click Create and view the artifact details:
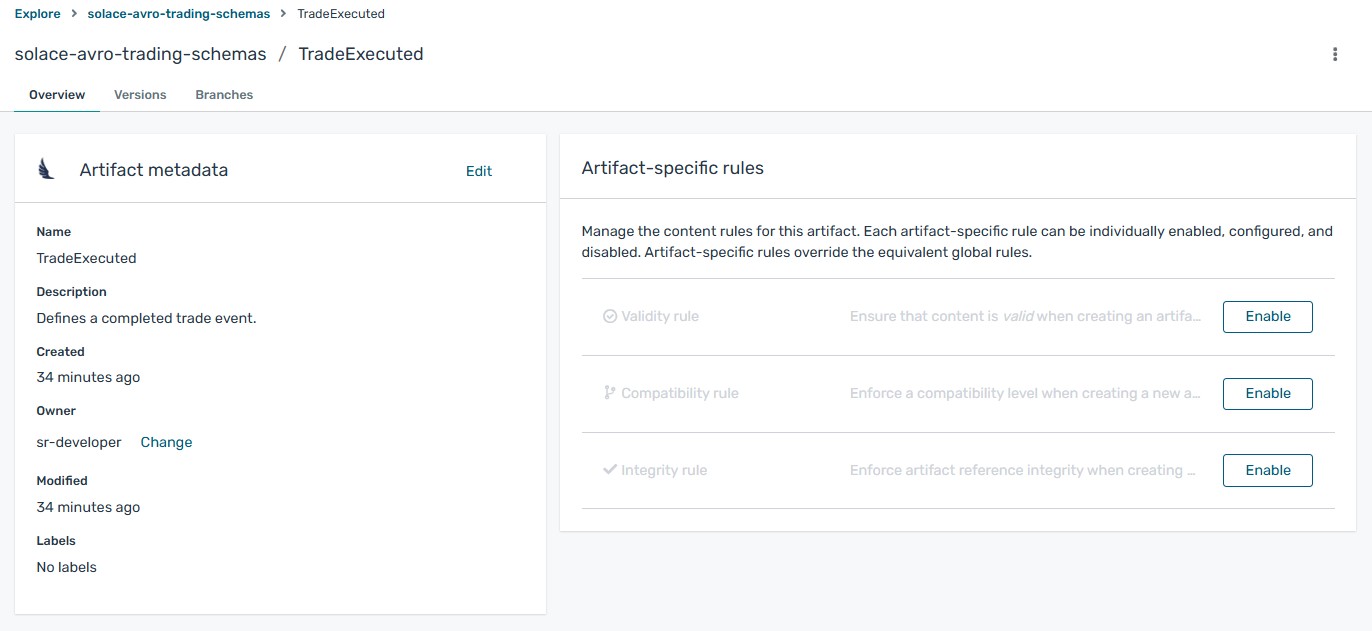
- Overview: Displays artifact metadata such as artifact ID, name, description, labels, and so on. Also displays rules for validity and compatibility that you can configure for artifact content.
- Versions: Displays a list of all artifact versions. This field is empty unless you chose to upload a first version when you created the artifact.
- Branches: Displays a list of branches for the artifact. This displays at least the
latestbranch, but might display other generated branches depending on your configuration.The following example shows an example Apache Avro artifact:
- On the Overview tab, click the Edit icon to edit artifact metadata such as name or description.
You can also add zero or more labels (name + value) for categorizing and searching purposes. To add labels, perform the following steps:
- Click Add label.
- Enter the key name and the value (optional).
- Repeat the first two steps to add multiple properties.
- Click Save.
- To save the artifact contents to a local file, for example,
my-schema.json, click Download. - To add a new artifact version, switch to the Versions tab and then click Create version in the toolbar. From there, provide the following information:
- Version Number: Optionally add a version string for the new version.
- Content: Specify the content using either of the following options:
- From file: Click Browse, and select a file, or drag and drop a file. For example,
my-schema.avscormy-schema.json. Alternatively, you can enter the file contents in the text box. - From URL: Enter a valid and accessible URL, and click Fetch. For example:
https://example.com/schemas/my-schema.avsc.
- From file: Click Browse, and select a file, or drag and drop a file. For example,
Now you can click the Create button to create the new version.
- To delete an artifact, click the vertical ellipsis icon and select Delete Artifact.
Deleting an artifact deletes the artifact and all of its versions, and cannot be undone.
Additional resources
- Viewing Artifacts Using Solace Schema Registry Web Console
- Configuring Content Rules Using Solace Schema Registry Web Console
- Solace Schema Registry Content Rule Reference
Viewing Artifacts Using Solace Schema Registry Web Console
You can use Solace Schema Registry web console to browse the schema and API artifacts stored in Solace Schema Registry. This section shows a simple example of viewing Solace Schema Registry groups, artifacts, versions, and rules.
Prerequisites
- Solace Schema Registry is installed and running in your environment.
- You are logged in to Solace Schema Registry web console:
http://MY_REGISTRY_UI_URL/ - Artifacts have been added to Solace Schema Registry using the web console, command line, or a client application.
Procedure
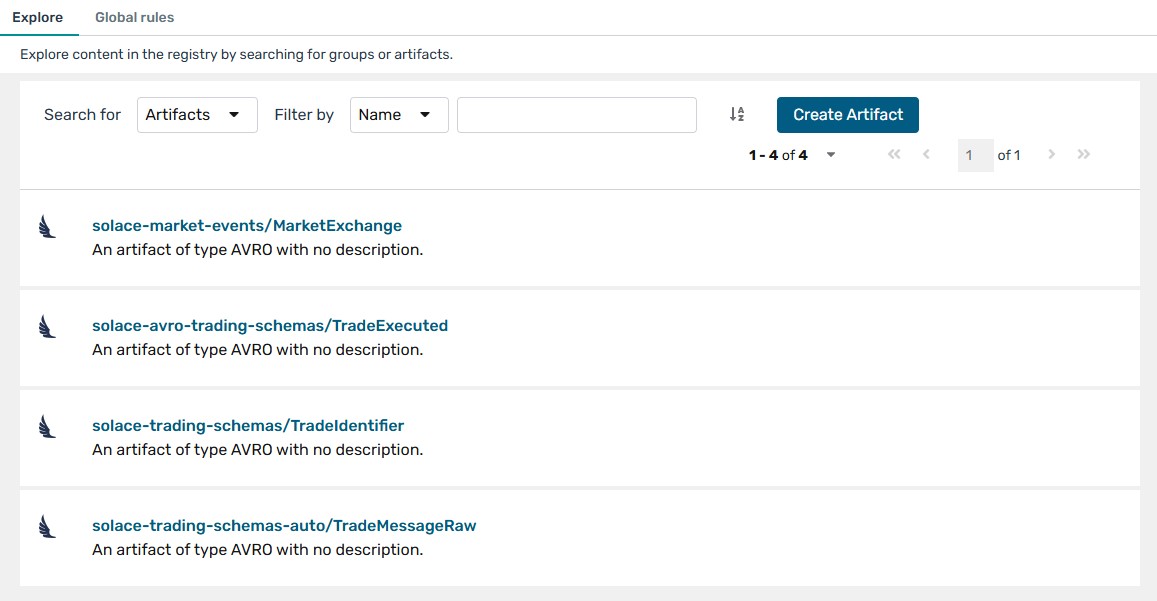
- On the Explore tab, browse the list of artifacts stored in Solace Schema Registry, or enter a search string to find an artifact. You can select from the list to search by specific criteria such as name, group, labels, or global ID.
-
Click an artifact to view the following details:
- Overview: Displays artifact metadata such as artifact ID, name, description, labels, and so on. Also displays rules for validity and compatibility that you can configure for artifact content.
- Versions: Displays a list of all artifact versions. This field is empty unless you chose to upload a first version when you created the artifact.
- Branches: Displays a list of branches for the artifact. This displays at least the
latestbranch, but might display other generated branches depending on your configuration.
-
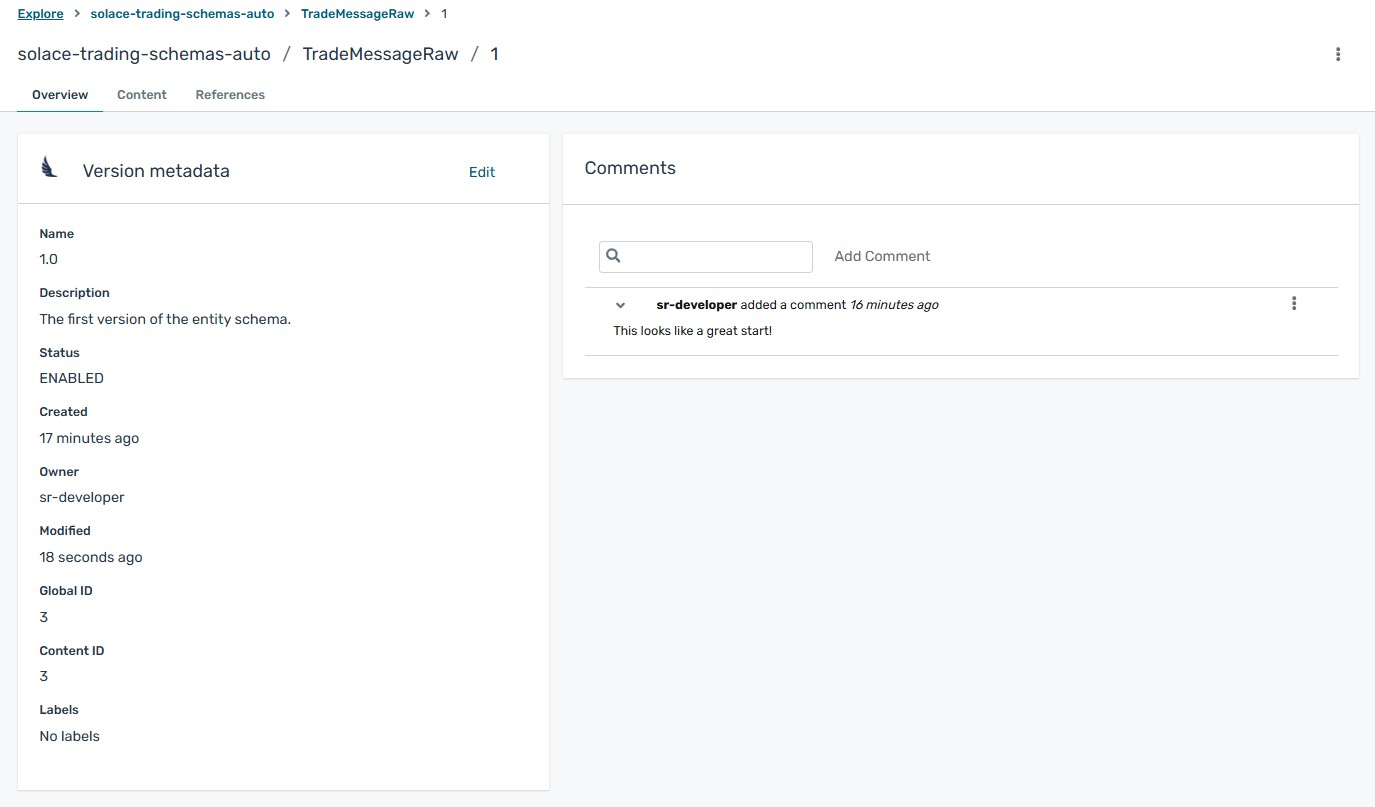
Click the Versions tab to view a list of all artifact versions. Then click one of the versions in the list, or choose View Version from the Action menu for a version in the list. You can then see the following artifact version details:
- Overview: Displays artifact version metadata such as version name, description, global ID, content ID, labels, and so on. Also displays any comments created for the artifact version.
- Content: Displays a read-only view of the full artifact version content. For JSON content, you can click JSON or YAML to display your preferred format.
- References: Displays a read-only view of all artifacts referenced by this artifact version. You can also click View artifacts that reference this artifact version.
- To save the artifact contents to a local file, for example,
my-schema.json, click Download.
Additional resources
- Adding Artifacts Using Solace Schema Registry Web Console
- Configuring Content Rules Using Solace Schema Registry Web Console
- Solace Schema Registry Content Rule Reference
Configuring Content Rules Using Solace Schema Registry Web Console
You can use Solace Schema Registry web console to configure optional rules to prevent invalid or incompatible content from being added to Solace Schema Registry. All configured artifact-specific or group-specific rules must pass before a new artifact version can be uploaded to Solace Schema Registry. Configured artifact-specific rules override any configured group-specific rules. This section shows a simple example of configuring group-specific and artifact-specific rules.
Prerequisites
- Solace Schema Registry is installed and running in your environment.
- You are logged in to Solace Schema Registry web console:
http://MY_REGISTRY_UI_URL/ - Artifacts have been added to Solace Schema Registry using the web console, command line, or a Java client application.
Procedure (group-specific rules)
- On the Explore tab, browse the list of groups in Solace Schema Registry by selecting Groups from the "Search for" menu.
- In Group-specific rules, click Enable to configure a validity, compatibility, or integrity rule for all artifact content in the group, and select the appropriate rule configuration from the list. For example, for Validity rule, select Full.
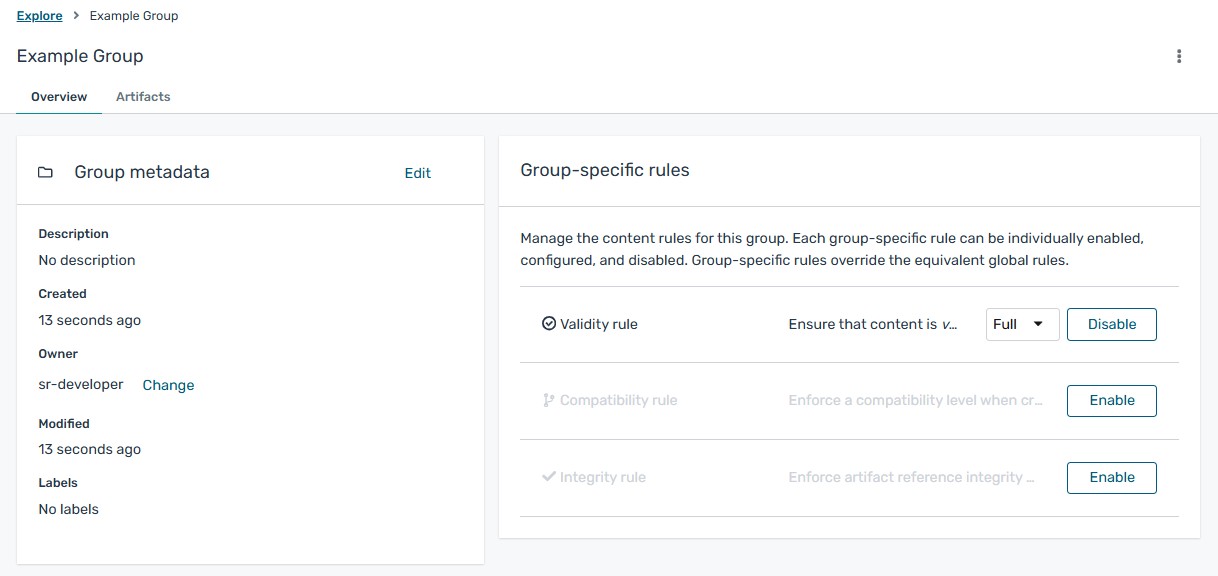
- Click a group to view its details and content rules.
Procedure (artifact-specific rules)
- On the Explore tab, browse the list of artifacts in Solace Schema Registry by selecting Artifacts from the "Search for" menu.
- Click an artifact from the list to view its details and content rules.
- In Artifact-specific rules, click Enable to configure a validity, compatibility, or integrity rule for artifact content, and select the appropriate rule configuration from the list. For example, for Validity rule, select Full.