Designing Agents
Before you start creating Agents, ensure that you have:
-
an event broker service (version 10.2.1 or later). If you don't have one, see
-
configured any required queues and subscriptions on the event broker service. For more information, see
-
the connection details and credentials for your external system. For more information, see Discovering Agents in Solace Cloud.
You must create the Agent in the same environment as the event broker service that you want to connect to. For more information about environments, see Creating and Managing Environments.
Create an Agent
To create an Agent, perform these steps:
-
Log in to the Solace Cloud Console if you have not done so yet. The URL to access the Cloud Console differs based on your
-
On the navigation bar, select Agents
 .
.If it is your first time using Agents, you may see a pop-up screen. Select Check Out Available Agents to create a new Agent or Explore On My Own to deploy an already existing Agent.
-
If your organization uses multiple environments, select the environment where you want to create the Agent. For more information, see Selecting Environments.
Ensure that you select the same environment as the event broker service that you want to connect to.
-
Click Create Agent. The Select a Model Provider page opens.
-
On the Select a Model Provider page, select the type of Agent you would like to create by clicking the corresponding tile.
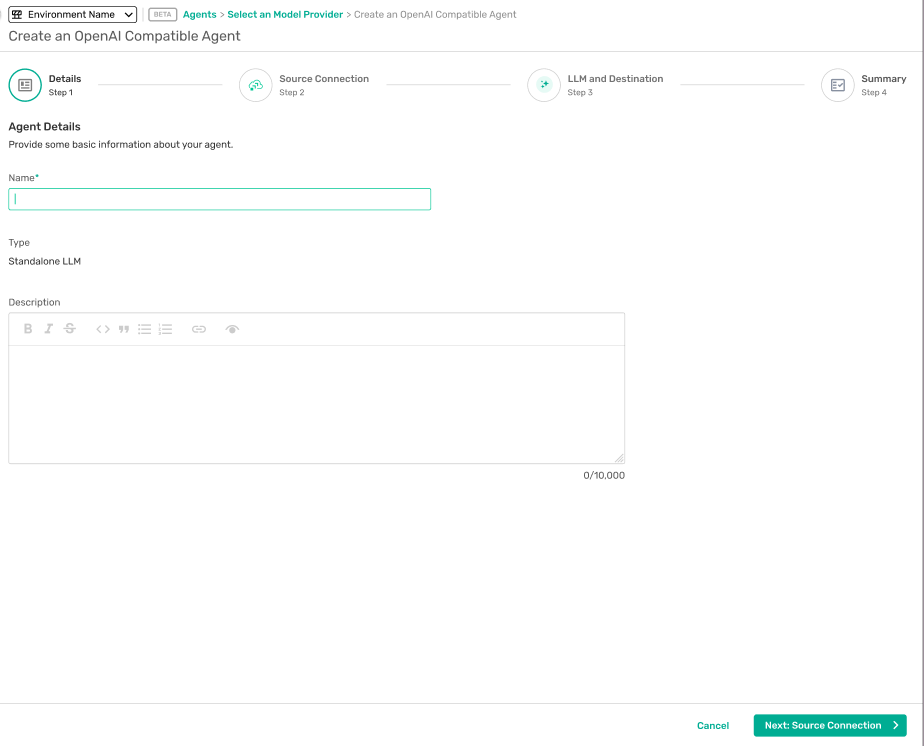
The Create Agent page opens, showing the steps you can navigate through to build your Agent. You can return to any step at any time.
-
On the Details step, enter a unique name for your Agent. Optionally, add a description, and then click Next: Source Connection.
-
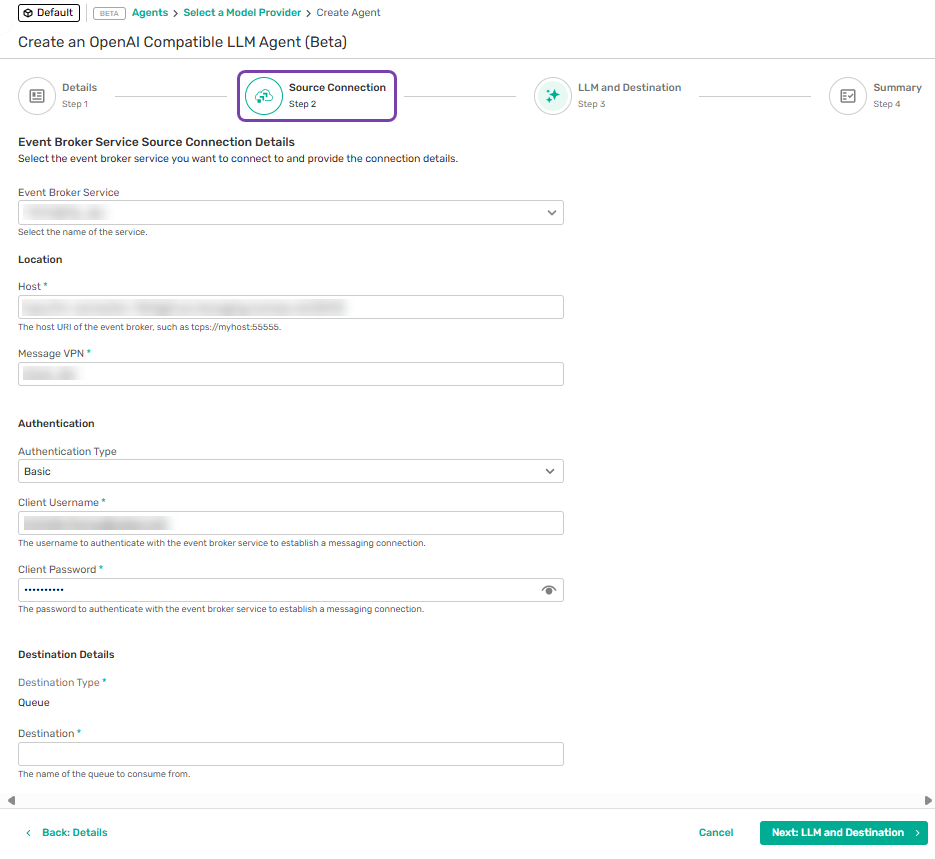
On the Source Connection step, enter the details for your event broker service. See Configuring Your Event Broker Service.
-
Click Next: LLM and Destination.
-
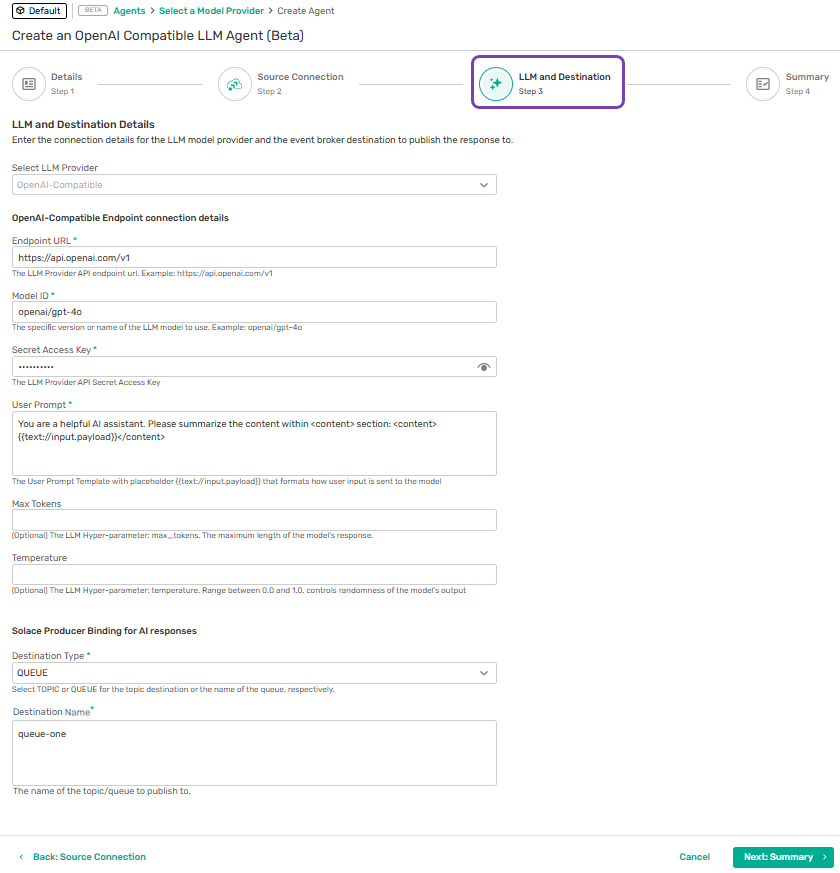
On the LLM and Destination step, enter the configuration details for your LLM and, if applicable, your vector database. For more information about the specific configuration for your model or vector database provider, see Configuring an LLM Agent and Configuring a RAG Agent.
-
Click Next: Summary.
-
On the Summary step, verify the details on the Source Connection, LLM and Destination, and Vector Database (if applicable) tabs. If everything looks correct, click Create.
For information about what you can do next, see Managing Agents and Troubleshooting Agents.